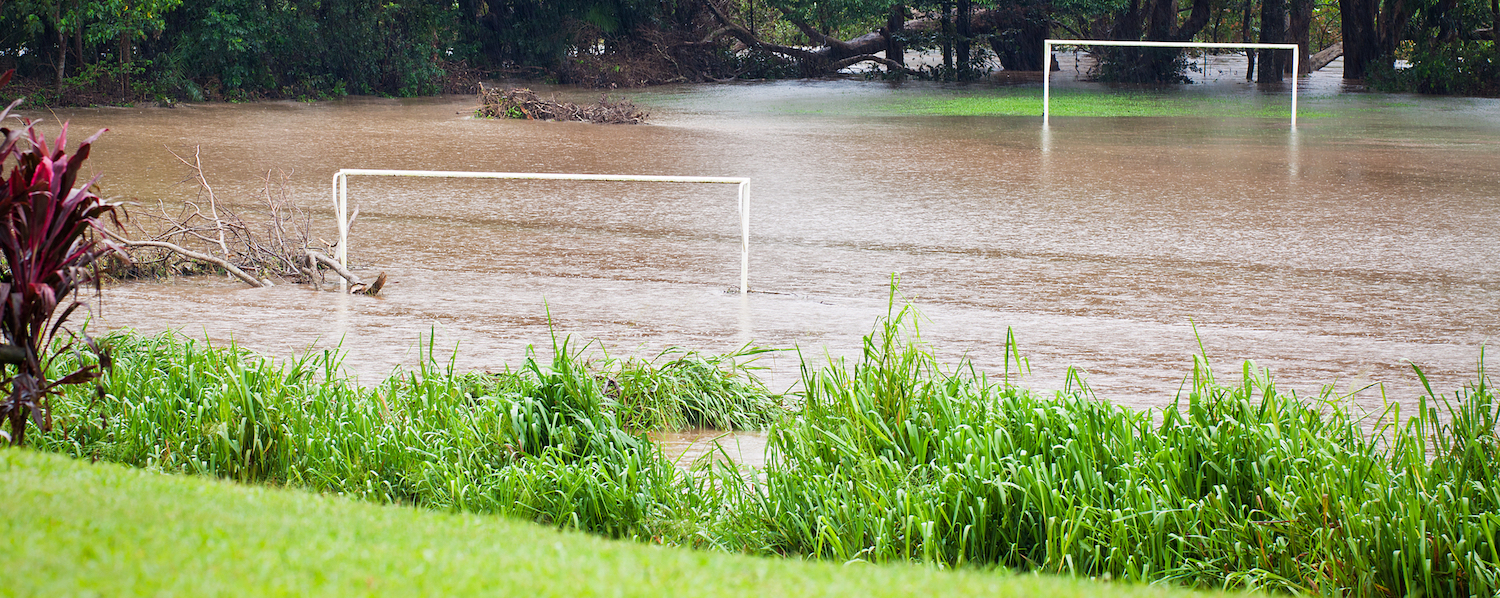
Solve Your Driveway Water Problems
Do you get water in your garage from the driveway? Does water pool near the garage door, and come in? If the driveway slopes toward the garage doors, and the surrounding area is higher than the driveway. The water stays in the area of the doors. The water has no place to go. It pools or comes into the garage. That can damage the foundation, walls or things stored in the garage. It can also erode areas at the surface as well as underground.
The best and easiest solution would be to put drains off to the side of the driveway. (At the red arrows) That way you do not have to cut into the driveway. (a huge labor and time saver).

More than likely the solution will require the driveway to be cut. Install a catch basin if the water is in one low spot. If it’s in more than one spot, choose the lowest area and install a trench drain across the entire driveway (the green arrow) or a portion, if you can get away with that. Then pipe the water underground to a lower area.
Warning about underground utilities! Any time you dig, it is your responsibility to know what is located underground where you are working. BEFORE YOU DIG! Check with the local authorities in your area for assistance.
SIMPLIFIED INSTALLATION INSTRUCTIONS
Cut the driveway. Remove pavement material. Excavate the channel drain area and the pipe exit trench. The drain area must be excavated enough to allow concrete to be moved under the channel.
Compact the subsoil bottom, especially the area under the channel drain or catch basin.
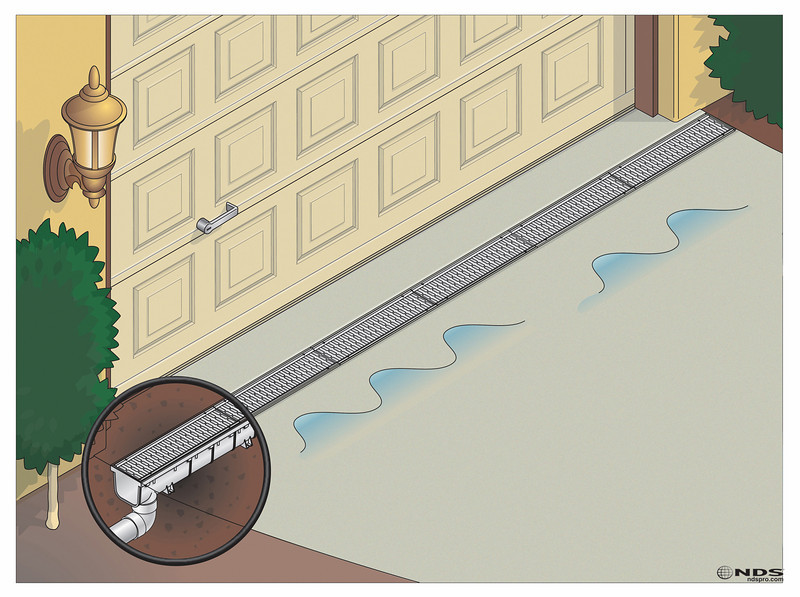
Install the catch basin or channel at least 1/8” to ¼” lower than the finished surface of the driveway. This is a good time to put some expansion joint where the original driveway material will meet the new material. Some channels have clips that allow ½” rebar stakes to support the channel until concrete is placed below it. Or you can suspend it by bolting it to some 2×4 boards that span the hole.
Install the 4” exit pipe out the bottom or end. Keep at least ¼” pitch or slope for each 10 feet of pipe.
Mix and place concrete under the channel and up the sides to match the grade of the driveway if you are ok with the concrete showing. Or stop 2” below the surface. Patch the driveway with blacktop patch after the concrete has set and cured. Now back fill the exit pipe and plant grass seed.
Watch your worries flow away!
DETAILED INSTALLATION INSTRUCTIONS
Here are some of the standard installation techniques in more depth:
What you will need:
4”x10’ S35/SDR drain pipe. Quantity depends on how far you need to go to reach grade/daylight.
12×12 catch basin kit by NDS (a great choice for a basin.)
or
5” wide 864 channel drain by NDS (it is the go to for channel).
Concrete mix.
Expansion joint.
Blacktop patch (optional).
TOOLS:
Saw for cutting the driveway. A rental center can offer a very substantial machine that will be a massive time saver, but costs more. Or a circular saw with the appropriate blade to match your driveway material.
Shovel for excavating the area for the channel or catch basin.
Pry bar for removing the cut up pavement.
Wheel barrow.
Trowel.
Hand saw for cutting the drain pipe.
Chalk line for layout of the cut lines.
Measuring tape.
4ft level.
Tamper or 4×4 timber.
Safety glasses.
Hearing protectors.
Gloves.
APPROX. MATERIAL COSTS:
4”X10FT Pipe SDR35 ~$14.00 each.
90 degree 4” SDR fitting. ~$5.00 each.
Catch basin NDS 12”x12” $55.00 each, plus shipping.
Channel drain NDS 864 5”x39” $180.00 for a four pack, plus shipping.
Expansion joint 10ft. ~$5.00 each.
Concrete mix 80lb bag. ~$4.00 each.
Blacktop patch 60lb bag ~$12.00 each.
TIME REQUIRED
This project could take 8 to 12 hours of labor. Depending on the driveway material that needs to be cut through, the size and type of the cutting saw, and the distance that you must pipe the water away.
RESULTS:
Your results should be, the water runs down the driveway, into the drains and out to an area that drains it away. Problem solved…
MAINTENANCE:
Occasionally check the system for leaves, silt or other obstruction like animal nests, toys or anything that could impede the water flow.
Where to get these cool basins or channels? Right here at LANDSCAPE DRAINAGE PROZ of course!
Can mortar be substituted for the cement?